- Catalogs
- Progressive Automations
- FLTCON-2
FLTCON-2
1 /4Pages

FLTCON-2
1 /4Pages
Catalog excerpts

Control Type Input Voltage Output Voltage Current Number of Channels Feedback Input: Duty Cycle Certifications Unit Weight Size (L x H x W) Warranty Wired Remote (Not Included) 110VAC (Power Cable Included) 24VDC 8A Per Channel 2 Hall Effect Sensor 10% (Max. 2 mins on, 18 mins off) CE, FCC 1.30lbs 10.1" x 1.6" x 3.5" 18 Months
Open the catalog to page 1
Operational Procedure To raise the actuator(s) or column(s), press and hold the UP button. To lower the actuator(s) or column(s), press and hold the DOWN button. The UP and DOWN buttons are momentary controlled. When either directional buttons are released, the actuator(s) or column(s) will stop immediately. To save a position, move the actuator(s) or column(s) to the desired height. Press the “M” button followed by a number. The LED display will flash an 'S', followed by an 'S - Number'. This will indicate that the position has been saved. To use a preset, press any of the numbered buttons and...
Open the catalog to page 2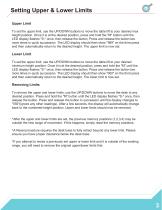
Setting Upper & Lower Limits Upper Limit To set the upper limit, use the UP/DOWN buttons to move the table lift to your desired max height position. Once it is at the desired position, press and hold the "M" button until the LED display flashes "S-" once, then release the button. Press and release the button two more times in quick succession. The LED display should then show "999" on the third press and then automatically return to the desired height. The upper limit is now set. Lower Limit To set the upper limit, use the UP/DOWN buttons to move the table lift to your desired minimum height...
Open the catalog to page 3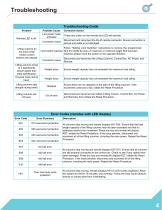
Troubleshooting Troubleshooting Guide Problem Remote LED is off. Lifting columns do not move when motion control buttons are pressed. Lifting columns travel at a significantly slower speed than rated specification. Unusual noise during travel. Possible Cause Low power mode activated Connection issue Corrective Action Press any button on the remote and LED will activate. Disconnect and reconnect the RJ-45 remote connector. Ensure connection is secure and cable is not damaged. Follow "Setting Limit Switches" instructions to remove the programmed Limit switch reached limit (FLTCON-02 only). If maximum...
Open the catalog to page 4All Progressive Automations catalogs and brochures
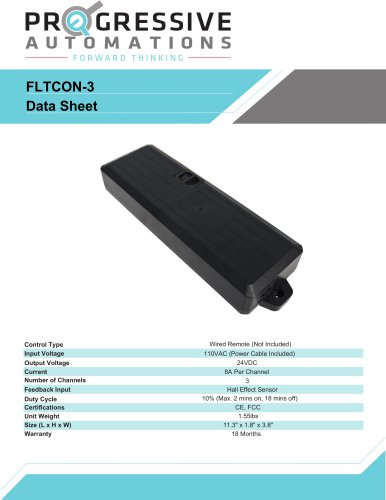 FLTCON-3
3 Pages
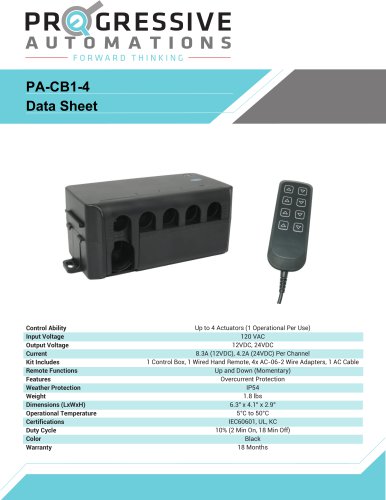 PA-CB1-4
2 Pages
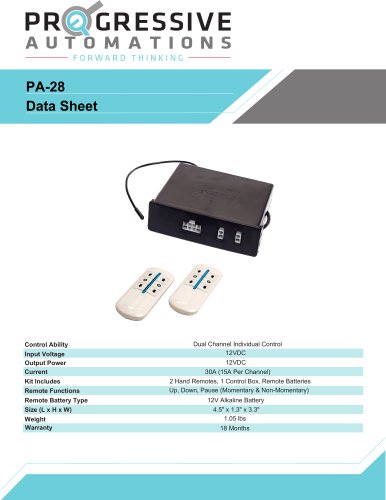 PA-28
PA-283 Pages
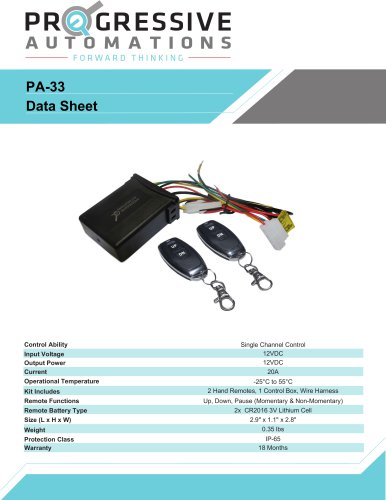 PA-33
PA-333 Pages
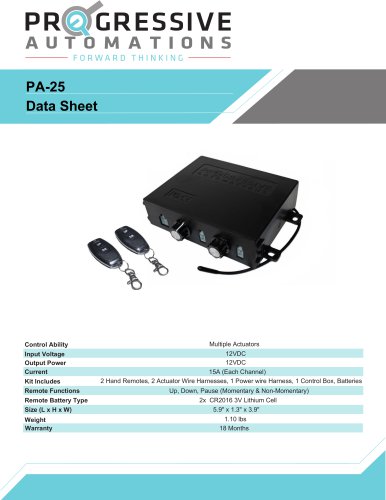 PA-25
PA-253 Pages
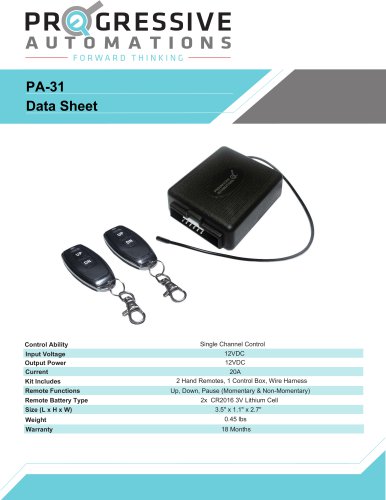 PA-31
PA-313 Pages
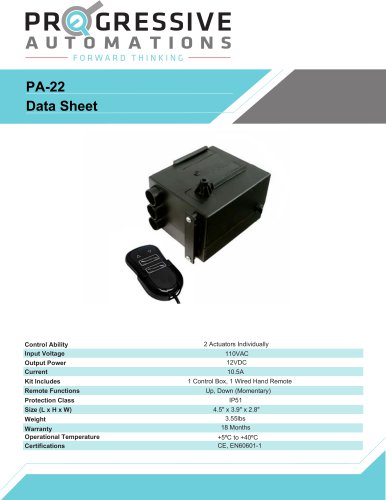 PA-22
PA-222 Pages
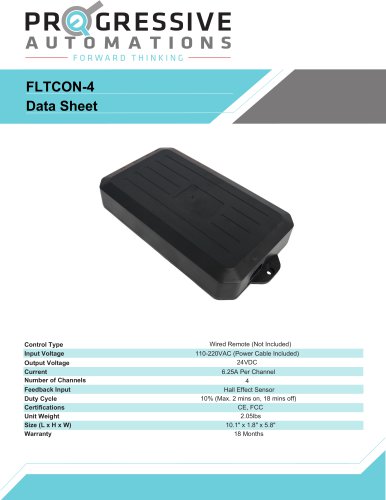 FLTCON-4
3 Pages
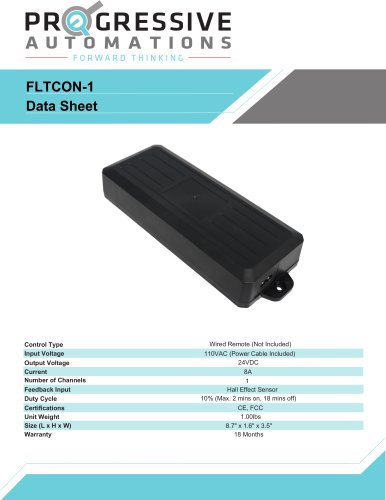 FLTCON-1
3 Pages
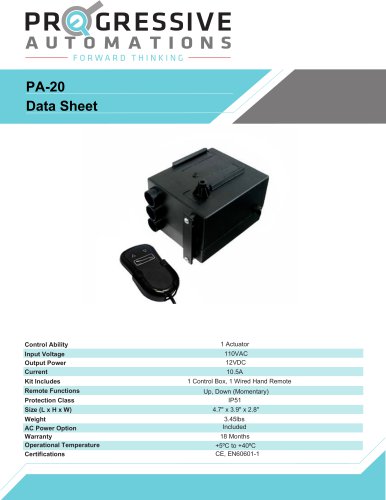 PA-20
PA-202 Pages
 PA-30
PA-303 Pages
 PA-04 Data sheet
10 Pages
 PA-13 Data sheet
8 Pages
 FLT-11 Data sheet
8 Pages
 PA-01 Data sheet
7 Pages
 PA-06 Data sheet
7 Pages