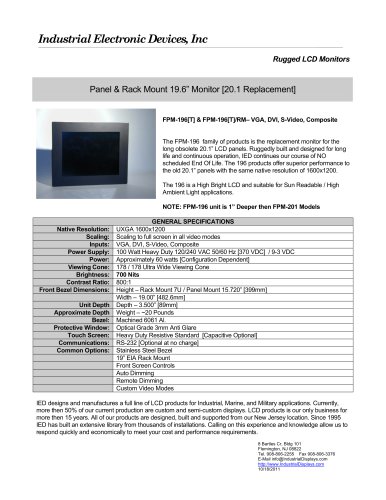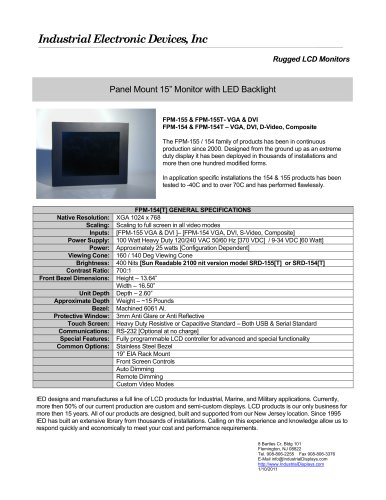
Catalog excerpts

Section 1 Introduction > About LCD Monitors Product Safety Precautions Section 2 Display Setup > Included Parts Connecting Your Display Section 3 Getting Started > Display Features Getting Started Adjusting the Display Using the Auto-Adjust OSD (On Screen Display) Adjustments Section 4 Touch Screen Set up > Introduction to Touch Screens Touch Screen Driver Installation Windows 98 Windows NT 4.0 Windows 2000 Windows XP Section 5 Mounting Instructions Section 6 Trouble Shooting Tips Section 7 Cleaning and Maintenance Section 8 Appendices > A-VGA Pin Assignment B-RS-232 Pin Assignment C-DVI...
Open the catalog to page 2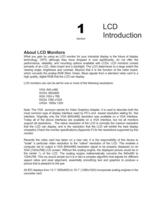
What you gain by using an LCD monitor for your industrial display is the future of display technology. CRTs although they have dropped in cost significantly, do not offer the performance, reliability, and mounting options available with LCDs. LCD monitors consist primarily of an LCD, video board and a backlight. The LCD determines to a large extent the viewing angle, brightness and contrast. Beyond that it is the function of the video board, which converts the analog RGB (Red, Green, Blue) signals from a standard video card to a high quality, digital RGB that the LCD can display. LCD...
Open the catalog to page 3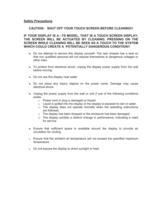
Do not attempt to service this display yourself. The rear chassis has a seal so that non qualified personal will not expose themselves to dangerous voltages or other risks. To protect from electrical shock, unplug the display power supply from the wall before moving. Do not use this display near water Do not place any heavy objects on the power cords. Damage may cause electrical shock. Unplug the power supply from the wall or unit if one of the following conditions exists. o Power cord or plug is damaged or frayed o Liquid is spilled into the display or the display is exposed to rain or...
Open the catalog to page 4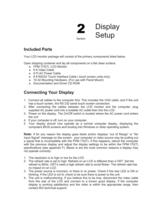
Your LCD monitor package will consist of the primary components listed below. Open shipping container and lay all components on a flat clean surface. FPM-170(T) LCD Monitor 6 ft Video Cable 6 Ft AC Power Cable 6 ft RS232 Touch Interface Cable ( touch screen units only) 10-32 Mounting Hardware. (For use with Panel Mount) Documentation and Driver CD ROM > 1. Connect all cables to the computer first. This includes the VGA cable, and if the unit has a touch screen, the RS 232 serial touch screen connection. 2. After connecting the cables between the LCD monitor and the computer, plug supplied...
Open the catalog to page 5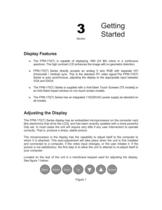
The FPM-170(T) is capable of displaying 16M (24 Bit) colors in a continuous spectrum. The high contrast LCD enhances the image with no geometric distortion. FPM-170(T) Series directly accepts an analog 5 wire RGB with separate H/V (Horizontal / Vertical) sync. This is the standard PC video signal.The FPM-170(T) Series is auto synchronous, adjusting the display to the appropriate input between VGA and SXGA. The FPM-170(T) Series is supplied with a Anti-Glare Touch Screeen [TS models] or an Anti-Glare impact window on non touch screen models. The FPM-170(T) Series has an integrated 115/220VAC...
Open the catalog to page 6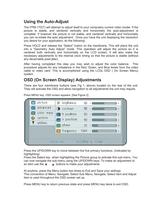
The FPM-170(T) will attempt to adjust itself to your computers current video model. If the picture is stable, and centered vertically and horizontally the auto-adjustment is complete. If however the picture is not stable, and centered vertically and horizontally you can re-initate the auto adjustment. Once you have the unit displaying the resolution you desire for your application, do the following: Press HOLD and release the SelectӔ button on the membrane. This will place the unit into a Geometry Auto AdjustӔ mode. This operation will adjust the picture so it is centered both vertically...
Open the catalog to page 7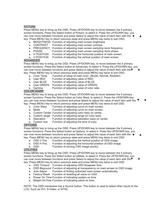
PICTURE Press MENU key to bring up the OSD. Press UP/DOWN key to move between the 5 primary screen functions. Press the Select button at Picture, to select it. Press the UP/DOWN key, you can now move between functions and press Select to adjust the value of each item with the key. Press MENU key to return previous state and press MENU key twice to exit OSD. BRIGHTNESS Function of adjusting main screen brightness. CONTRAST Function of adjusting main screen contrast. FREQUENCY Function of adjusting main screen sampling clock frequency. PHASE Function of adjusting main screen sampling clock...
Open the catalog to page 8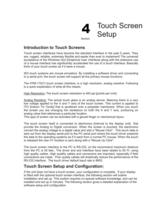
Touch screen interfaces have become the standard interface in the past 5 years. They are, rugged, reliable, extremely flexible and easier than ever to implement! The universal acceptance of the Windows GUI [Graphical User Interface] along with the extensive use of a mouse interface has significantly accelerated the use of a touch interface. Basically think of your touch screen as if it were a mouse. IED touch systems are mouse emulators. By installing a software driver and connecting to a serial port, the touch screen will support all the primary mouse functions: The FPM-170(T) touch screen...
Open the catalog to page 9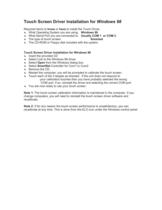
Required items to know or have to install the Touch Driver. What Operating System you are using. Windows 98 What Serial Port you are connected to. Usually COM 1 or COM 2 The type of touch screen. Smartset The CD-ROM or Floppy disk included with the system. Touch Screen Driver Installation for Windows 98 Insert the provided CD Select Link to the Windows 98 driver Select Open from the Windows dialog box. Select SmartSet Controller for Com1 or Com2 Remove the CD. Restart the computer; you will be prompted to calibrate the touch screen. Touch each of the 3 targets as directed. If the unit does...
Open the catalog to page 10
Required items to know or have to install the Touch Driver. What Operating System you are using. Windows NT 4.0 What Serial Port you are connected to. Usually COM 1 or COM 2 The type of touch screen. Smartset The CD-ROM or Floppy disk included with the system. Touch Screen Driver Installation for Windows NT 4.0 Insert the provided CD Select Link to the Windows NT driver Select Open from the Windows dialog box. Select Next Select Yes - To the license agreement Select Next - To the default installation folder Select Next - For Single Monitor installation Select the Com Port to which the touch...
Open the catalog to page 11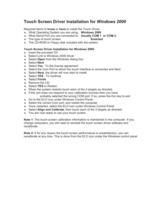
Required items to know or have to install the Touch Driver. What Operating System you are using. Windows 2000 What Serial Port you are connected to. Usually COM 1 or COM 2 The type of touch screen. Smartset The CD-ROM or Floppy disk included with the system. Touch Screen Driver Installation for Windows 2000 Insert the provided CD Select Link to Windows 2000 driver Select Open from the Windows dialog box. Select Next Select Yes - To the license agreement Select the Com Port to which the touch interface is connected and Next Select Next, the driver will now start to install. Select YES - To...
Open the catalog to page 12All IED catalogs and brochures
-
IED Model SRD-154 & SRD-155
2 Pages
-
IWS-220 IWS-220T
2 Pages
-
IWS-240 & IWS-240T
2 Pages
-
ARM-215[T]
2 Pages
-
FPM-84-NTSC & FPM-84T-NTSC
2 Pages
-
IWS-190 - IWS-195
2 Pages
-
ARM-12T
2 Pages
-
ARM-15T
2 Pages
-
ARM-19T
2 Pages
-
SRD-1012 - SRD-1014
2 Pages
-
SRD-154T - SRD-155T
2 Pages
-
SRD-170 - SRD-175
2 Pages
-
FPM-196
3 Pages
-
FPM-190_195
3 Pages
-
FPM-154_155
2 Pages
-
FPM-170 - FPM-175
2 Pages
-
FPM-1012 - FPM-1014
2 Pages
-
FPM-1014 - FPM-1012
2 Pages
-
FPM-84 / FPM-85
2 Pages
-
IWS-124T
4 Pages
Archived catalogs
-
Industrial Electronic Device
4 Pages


![ARM-215[T]](https://img.nauticexpo.com/pdf/repository_ne/27092/arm-215-t-97643_1mg.jpg)


