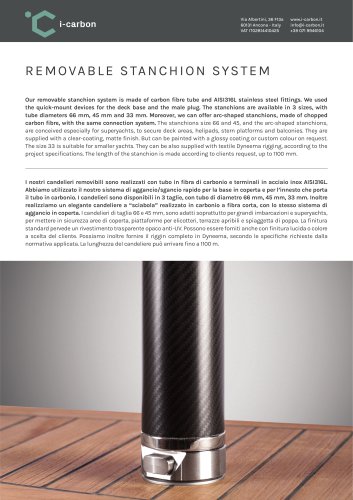
installation instructions - Awning system

installation instructions - Awning system
Tools Required:
- Drill
- Hole saw
- Wrench
- Marine sealant
- Threadlocker
- Anti-corrosion lubricant
- Non-acidic degreaser
General Instructions:
The instructions apply to all deck fittings in the system, including threaded and drilled sockets for types IP 4500, IP 6600, IP 8600, IP 4501, IP 6601, and IP 8601.
Step 1: Mark and Cut the Holes
- Use the backing plate as a jig to mark the central and mounting holes.
- Use a drill bit and hole saw to cut the holes.
Step 2: Preparing
- Clean the bottom side of the deck base thoroughly.
- Apply marine sealant to the mounting surface.
Step 3: Installation
- Position the deck socket and place the backing plate, bolts (with thread locker), washers, and nuts.
- Tighten the nuts firmly and clean up excess sealant.
Maintenance Guide for Awning System
General Maintenance:
The awning system is reliable and requires minimal maintenance. Regular cleaning ensures longevity.
Simple Cleaning (At least once a month):
- Clean with fresh water.
- If using soap, choose mild soap and rinse thoroughly.
Regular Maintenance (Every 5-6 months):
- Clean with warm water and a cloth.
- Use mild detergent for light marks, rinse thoroughly, and towel dry.
- Use stainless steel cleaner and polishing compound for stains or scratches.
- Avoid abrasive cleaning products and steel or brass wool.
Catalog excerpts

Via Albertini, 36 F13a 60131 Ancona, Italy VAT IT02814410425 The following instructions are applicable to all the deck fittings available in our system. Le seguenti istruzioni sono valide per l’installazione di tutte le basi presenti sul nostro catalogo. Instruction for drilled socket. Istruzioni per bicchiere con fori. Instruction for threaded socket. Istruzioni per bicchiere filettato. Type IP 4500 Type IP 6600 Type IP 8600 Type IP 4501 Type IP 6601 Type IP 8601 TOOLS REQUIRED FOR INSTALLATION ATTREZZATURA NECESSARIA ● drill ● hole saw ● wrench ● marine sealant ● threadlocker ● anti-corrosion lubricant ● non-acidic degreaser ● trapano ● fresa a tazza ● chiave inglese ● sigillante marino ● frenafiletti ● lubrificante non corrosivo ● s
Open the catalog to page 1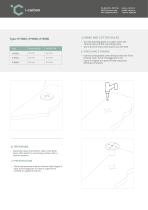
Via Albertini, 36 F13a 60131 Ancona, Italy VAT IT02814410425 2) PREPARING • Carefully clean the bottom side of the deck base, then bed the mounting surface with a marine sealant 2) PREPARAZIONE • Pulire attentamente la parte inferiore della flangia di base, quindi applicare su tutta la superficie di contatto un sigillante marino 1) MARK AND CUT THE HOLES • Use the backing plate as a jig to mark the central hole and the mounting holes • Use a drill bit and a hole saw to cut the hole 1) TRACCIARE E FORARE • Usare la contropiastra come dima per tracciare il foro centrale e per i fori di montaggio...
Open the catalog to page 2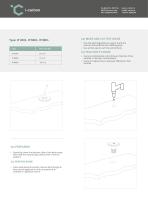
Via Albertini, 36 F13a 60131 Ancona, Italy VAT IT02814410425 2a) PREPARING • Carefully clean the bottom side of the deck base, then bed the mounting surface with a marine sealant 2a) PREPARAZIONE • Pulire attentamente la parte inferiore della flangia di base, quindi applicare su tutta la superficie di contatto un sigillante marino 1a) MARK AND CUT THE HOLES • Use the backing plate as a jig to mark the central hole and the anti-rotating hole • Use a hole saw to cut the central hole 1a) TRACCIARE E FORARE • Usare la contropiastra come dima per tracciare il foro centrale e il foro per l’antirotazione....
Open the catalog to page 3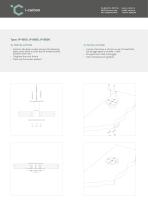
Via Albertini, 36 F13a 60131 Ancona, Italy VAT IT02814410425 • Position the deck socket and put the backing plate, bolts (with a small bed of thread locker), washers and nuts • Thighten the nuts firmly • Clean up the excess sealant • Inserire il bicchiere, le viti (con un po’ di frenafiletti), quindi aggiungere le rondelle e i dadi • Stringere forte i dadi di fissaggio • Pulire l’eccedenza
Open the catalog to page 4
Via Albertini, 36 F13a 60131 Ancona, Italy VAT IT02814410425 • Position the deck socket with the antirotating pin and place in the order: the backing plate, the washer, the nuts (with a small bed of thread locker • Thighten the nut firmly • Clean up the excess sealant • Inserire il bicchiere, con il pin di antirotazione, quindi in sequenza: la contropiastra, la rondella, il dado (con un po’ di frenafiletti) • Stringere forte il dado di fissaggio • Pulire l’eccedenza
Open the catalog to page 5
Via Albertini, 36 F13a 60131 Ancona, Italy VAT IT02814410425 This is a reliable and low-maintenace system. A regular cleaning will ensure a long service life to your awning system. Il nostro sistema ombreggiante è affidabile e richiede una minima manutenzione. Una pulizia regolare ne garantirà una lunga durata. Simple cleaning operations to do whenever you like. At least once a month Semplici operazioni di pulizia da fare in ogni occasione. Almeno una volta al mese • Clean with fresh water • When using soap, use mild soap and rinse thoroughly with fresh water • Lavare con acqua dolce • Se si...
Open the catalog to page 6All I-Carbon catalogs and brochures
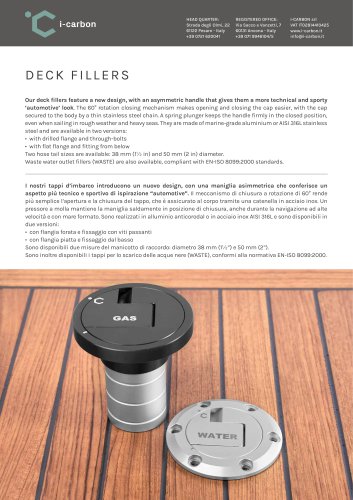 DECK FILLERS
5 Pages
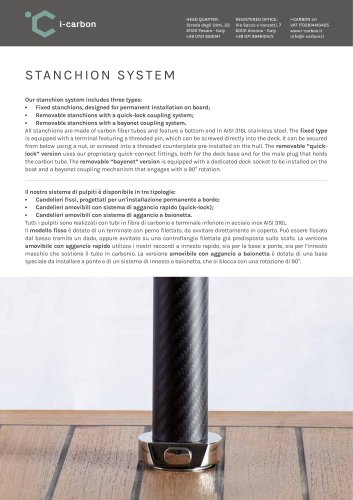 STANCHION SYSTEM
4 Pages
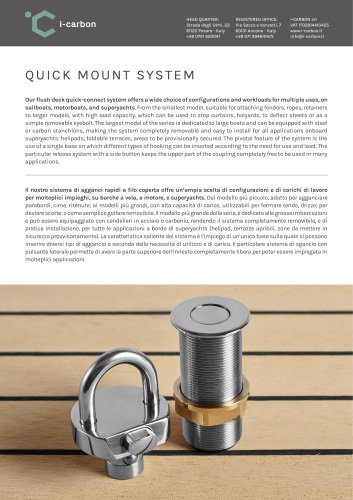 QUICK MOUNT SYSTEM
7 Pages
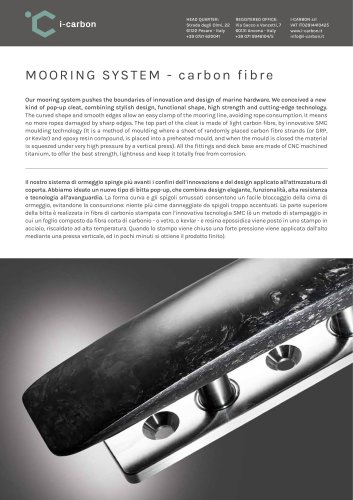 CARBON POP-UP CLEATS
9 Pages
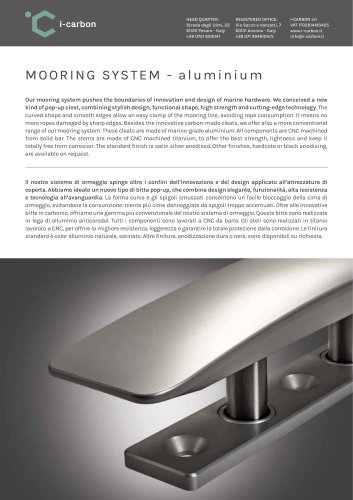 ALUMINIUM POP-UP CLEATS
9 Pages
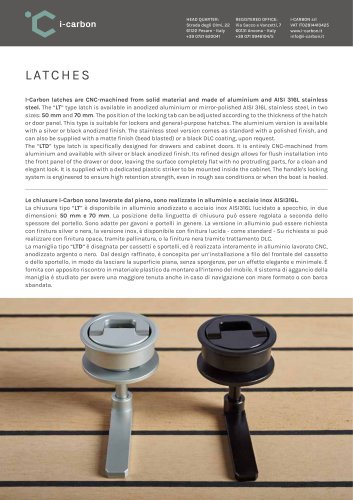 LATCHES
4 Pages
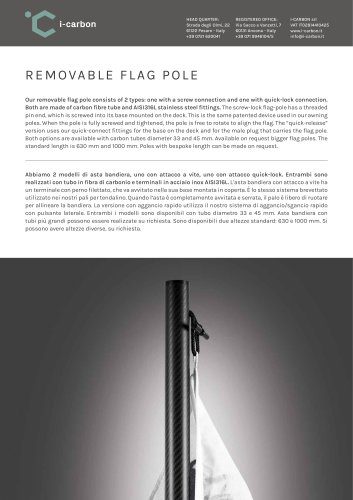 FLAG POLES
4 Pages
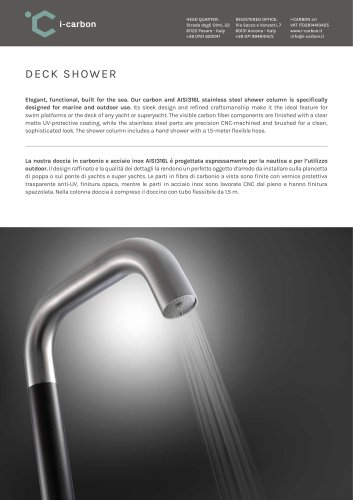 CARBON DECK SHOWER
5 Pages
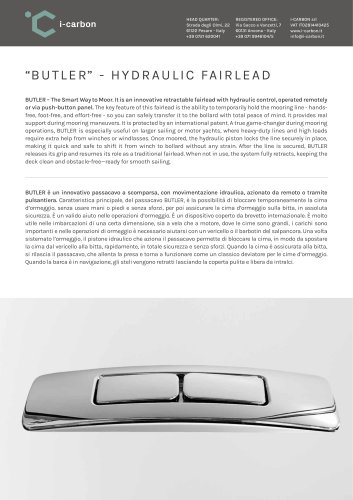 BUTLER
5 Pages
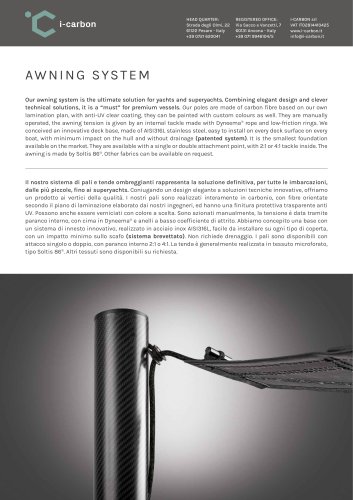 AWNING SYSTEM
14 Pages
 2026 CATALOGUE
25 Pages
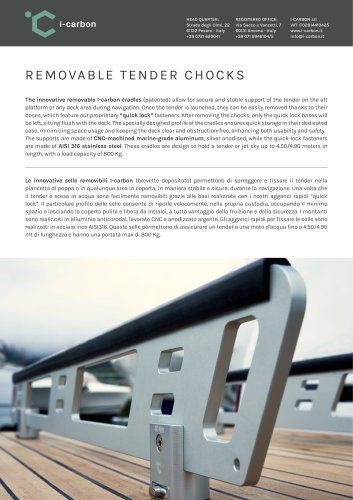 REMOVABLE TENDER CHOCKS
9 Pages
 GYMPOLE
7 Pages
 GENERAL CATALOGUE
21 Pages
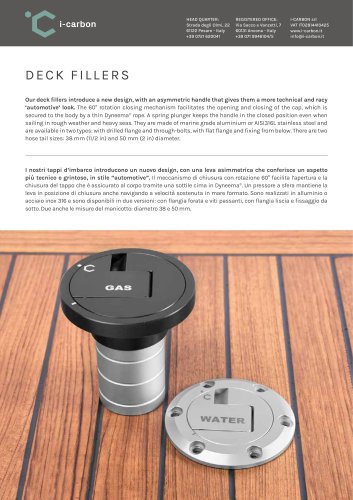 DECK FILLERS (2025)
4 Pages
 FLAG POLES
4 Pages
 STANCHION SYSTEM
4 Pages
 TELESCOPIC AWNING SYSTEM
10 Pages
 AWNING SYSTEM
11 Pages
 LATCHES
4 Pages
 MOORING FLUSH
3 Pages
 MOORING STAINLESS STEEL
9 Pages
 MOORING CARBON
9 Pages
 MOORING ALUMINIUM
9 Pages

Archived catalogs
 TELESCOPIC AWNING SYSTEM
12 Pages
 MOORING SYSTEM - Flush mount
3 Pages
 QUICK MOUNT SYSTEM 2023
3 Pages
 MOORING SYSTEM-aluminium
3 Pages
 MOORING SYSTEM-carbon
3 Pages
 TELESCOPIC AWNING SYSTEM
3 Pages
 AWNING SYSTEM
3 Pages
 DECK FILLERS
3 Pages
 Company profile
11 Pages