
- Catalogs
- Dickinson Marine
- Alaska-00-ALA Pdf

Alaska-00-ALA Pdf

Alaska-00-ALA Pdf
- Do not operate the heater unattended.
- Turn off the heater when refueling.
- Do not burn gasoline.
- Ensure an open fresh air vent during operation.
- Do not light a warm burner to avoid explosion.
- Do not use a pressurized fuel tank.
- Install a CO alarm.
The Dickinson diesel heater operates without power, using a 12v draft assist fan. It features a gravity feed oil metering valve and a vaporizing oil burner for clean combustion. It can also run on kerosene and stove oil. Optional hot water coils can be installed for water heating.
- Ensure proper mounting, location, and chimney specifications.
- Install an unrestricted permanent fresh air inlet.
- Use filtered fuel and maintain pressure below 4 psi.
- Install a barometric damper for draft regulation.
Proper ventilation is crucial. A permanent fresh air inlet of at least 3" diameter is required. Ensure positive pressure inside the boat to prevent downdrafts.
The chimney creates the draft necessary for operation. Adequate air movement and proper chimney design are essential to maintain draft and prevent downdrafts.
- Location: Ensure compliance with safety clearances and proper alignment with the boat's keel.
- Mounting: Secure the heater using provided brackets and ensure all protective plastic is removed.
- Chimney Pipe: Use a straight 5-6ft chimney with specified diameters. Avoid elbows.
- Barometric Damper: Install to maintain draft control and adjust for optimal combustion.
To install a thru-deck fitting, a hole must be cut in the deck with a 1” clearance around the chimney pipe. The fitting includes a stainless steel dress ring and a neoprene gasket. A hardwood spacer block may be needed depending on the cabin top's contour.
The Dickinson DP or H style exhaust caps are recommended. They should be placed clear of obstructions to avoid air turbulence. Caution is advised as the cap gets hot during operation.
Use only #2 diesel, #1 stove oil, or kerosene. The fuel system includes a 3/8” flare fitting for supply and a 1/4” flare fitting for overflow. Copper tubing is recommended for the first 3 feet of the fuel line. The overflow feature prevents over-pressurization and should never be plugged.
Fuel must be filtered before reaching the pump and oil metering valve. Manual shut-offs should be installed near the tank and heater. A ¼” NPT fuel filter with a shut-off is recommended.
Fuel can be supplied by a main or day tank, using gravity or a pump. Gravity tanks require a minimum head of 12" above the oil-metering valve. A pressure regulator is needed if pressure exceeds 4 psi.
The Walbro pump should be mounted at the heater valve level. The heavy-duty pump is recommended for colder climates. The pump must be primed to remove air from the fuel lines. It should be installed in a ventilated area away from heat sources.
A 12v draft assist fan is recommended to improve fuel vaporization and control. It should be used primarily during startup and high-temperature settings.
A hot water coil can be added to heat water using the heater. It requires ½” copper tubing for plumbing. A pressure relief valve is necessary to prevent dangerous pressure buildup.
Upon first use, it takes 5-10 minutes for the fuel lines to fill. The lighting procedure involves turning on the fuel pump or opening the gravity feed valve.
The document provides detailed instructions for operating a diesel heater, focusing on the correct procedures for lighting and maintaining the burner. Key steps include adjusting the oil metering valve, using a tissue to ignite the oil, and managing the draft assist fan to ensure proper flame height. The importance of maintaining flames above the top burner ring is emphasized to prevent dangerous conditions.
The document outlines approximate settings for the oil metering valve and fan knob based on heater temperature requirements. It warns against operating the fan at high speeds, which can lead to a lean burn and carbon buildup. Recommended fan positions are provided for different temperature settings.
Guidance is given on adjusting air and fuel mixtures to maintain efficient combustion and prevent soot formation. The document advises on managing fuel flow as the heater warms up and the fuel thins, requiring adjustments to maintain a clean burn.
Instructions are provided to avoid flooding the burner with excess oil, which can occur if the fuel supply is increased too quickly or if there is poor ventilation. A method for addressing a flooded burner is described, emphasizing the need to remove excess oil before relighting.
The document explains the function of the oil metering valve, including safety features like a high-temperature fuse. It provides instructions for adjusting fuel flow and calibrating the valve for different fuel types, noting variations in fuel viscosity and their impact on operation.
A checklist for annual fuel maintenance is included, detailing steps to ensure proper fuel flow and clean components. The importance of regular maintenance to prevent operational issues is highlighted.
The document describes the components of the burner assembly, including the placement of the burner ring and superheater. Proper assembly is crucial for efficient operation and heat distribution.
Catalog excerpts

Natural Draft Diesel Heater Operating and Installation Instruction Manual *KEEP THIS MANUAL FOR FUTURE REFERENCE* Lofoten, Newport, Alaska, Antarctic Models ** Please read from beginning to end before installing and operating. Heater’s Serial #: __________________ Quality Controlled by- Doug & Don Form#7.2-229 Issue#1 April 14, 2010
Open the catalog to page 1
2 Table of Contents Table of Contents… Pg. 2 Warnings… Pg. 3 1. 2. 3. 4. About a Natural Draft Diesel Heater… Pg. 4 Important Notes... Pg. 4 Ventilation… Pg. 5 How does the Chimney affect the Heater… Pg. 6 - Testing your Draft… Pg. 7 - Downdraft… Pg. 7 5. Installing your Heater… Pg. 7 - Location… Pg. 7 - Safety Clearances… Pg. 8 - Facing Direction… Pg. 8 - Location Diagrams… Pg. 8 - Mounting… Pg. 9 - Chimney Pipe… Pg. 9 - Chimney Pipe Diameter… Pg. 9 - Barometric Damper… Pg. 9 - Deck Fitting… Pg. 11 - Deck Fitting Diagram… Pg. 11 - Exhaust Cap… Pg. 11 - Heater Installation Diagram… Pg. 12 6....
Open the catalog to page 2
3 11. Approximate Valve & Fan Settings… Pg. 22 - Fire Diagram… Pg. 22 12. Operation Tips… Pg. 23 - Importance of the “Fuel to Air” Mixture… Pg. 24 13. Flooding the Burner… Pg. 25 - Valve Height Requirements Diagram… Pg. 25 14. The Oil Metering Valve & Fuel Flow…Pg. 26 - Safety Fuse… Pg. 26 - Fuel Adjustment… Pg. 26 - Fuel Flow Measurements… Pg. 27 - Fuel Variations… Pg. 27 - Valve Operating Ranges… Pg. 28 - Valve Repair Kits… Pg. 28 - Valve Repair… Pg. 29 - Exploded Valve Diagram… Pg. 31 15. Burner Assembly… Pg. 32 - Burner Diagram… Pg. 32 16. Maintenance… Pg. 33 - Fuel Checklist… Pg. 33 - Cleaning...
Open the catalog to page 3
4 1. About a Natural Draft Diesel Heater A Dickinson diesel heater has many advantages to other heating appliances. They can be run on no power but has a 12v draft assist fan to provide draft assistance. Our heaters are equipped with simple but reliable internal components including a gravity feed oil metering valve to a vaporizing oil burner where the fuel vaporizes by natural draft to burn a beautiful clean fire in the viewing combustion chamber. A vaporizing oil burner is designed to transform oil to a vapor state and then burn the vapor. Vaporizing is achieved by the oil reaching 465 F. Once...
Open the catalog to page 4
5 VERY IMPORTANT: Unrestricted permanent fresh air inlet required to draw in outside air needed for correct operation. Fuel must be filtered and not exceed a pressure of 4 psi or a fuel pressure regulator must be used to avoid dangerous flooding (Dickinson part# 20-003). A barometric damper must be installed to help regulate the draft. A barometric gives you more control in the “fuel to air” mixture needed for correct operation. The valve controls the fuel whereas the fan increases the air and the barometric decreases the air (See Pg. 9). Install a CO alarm. 3. Ventilation Do NOT operate this...
Open the catalog to page 5
6 able to get your heater without sooting. A CO alarm should be installed in the boat. We also recommend the Dickinson high heat shut-off #02-210. 4. How Does the Chimney affect the Heater? The heater does not create the draft for a natural draft appliance to operate; it is the chimney that creates the draft for operation. The purpose of a chimney is to take the combustion products (smoke and gasses) from the appliance to the atmosphere outside your boat, and at the same time, to draw air in for combustion into the appliance. This movement of combustion air and exhaust is called draft. In essence,...
Open the catalog to page 6
7 3. Competition for available air. Third, there must not be too much competition from other devices in the boat, such as exhaust fans, a large engine or air-exchange systems. If something else is sucking the air out of the boat, the chimney might not be powerful enough to overcome it, and exhaust might be drawn into the boat from the chimney. 4. Proper chimney design. And finally, a chimney must be designed to accommodate the volume and type of exhaust being emitted by the appliances it serves. This involves correct sizing, adequate height, and proper construction. See the “Chimney Pipe” section...
Open the catalog to page 7
8 ceramic tile. The back of the heater and the first length of chimney pipe should also be lined with such material. See diagram on pg 8. Safety Clearances Above- 30”, In front- 18”, Sides- 12”, Below- 6” Facing Direction The heater ideally should face the bow or stern of the boat, particularly on a sailboat. Fuel is gravity fed from the oil metering valve into the burner so if the valve should drop below the level of the burner, the fuel would not flow uphill into the burner, which will put out the fire. In a beam-facing installation, the oil metering valve may have to be relocated to the side...
Open the catalog to page 8
9 Mounting There are holes provided in the feet of the heater to allow appropriate fasteners to secure it to the floor. The Newport model has the appropriate brackets to secure the heater to the bulkhead. The drip tray will then fit under the bottom of the heater. *The Newport bulkhead heater must be secured with the rear mounting brackets supplied. * All other model heaters must be secured to the floor through the bolt holes in the legs. **REMEMEBER: remove all protective plastic on ALL parts of the heater. Chimney Pipe The location and configuration of the chimney stack is very important to...
Open the catalog to page 9
10 Lofoten model heater Part# 17-001: 4” x 22” stainless pipe with barometric Part# 17-010: 4” x 7” stainless pipe with barometric The barometric damper should be installed in oil and solid fuel heaters. The purpose is to maintain a strong draft without causing too much air to the “fuel to air” mixture. When the damper is adjusted, the draft is altered by allowing air to be pulled into the chimney by the air inlet on the damper and not pulled into the burner. This gives you more control. Having a barometric allows you to burn your heater at lower temperatures giving you the control to adjust...
Open the catalog to page 10All Dickinson Marine catalogs and brochures
 Mediterranean / Caribbean
26 Pages
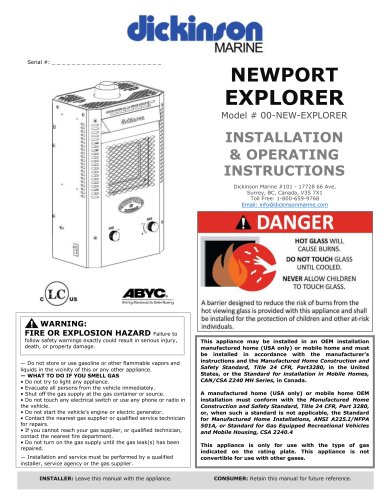 Explorer Propane Fireplace
54 Pages
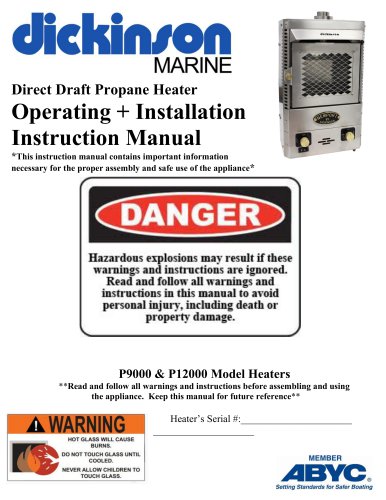 Propane Heater P9P12
31 Pages
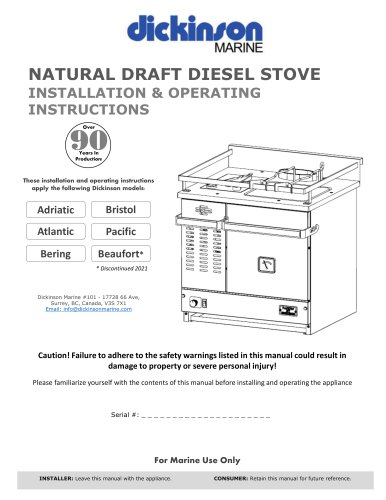 Diesel Stove
53 Pages
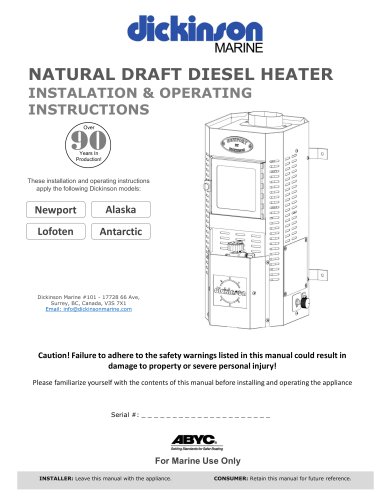 Diesel Heater
53 Pages
Archived catalogs
 LOFOTEN-00-LOF - Pdf
41 Pages
 Lofoten Diesel Heater
1 Page
 NEWPORT P9000-P12000
1 Page
 ANTARCTIC DIESEL HEATER
1 Page
 Pacific-00-PAC . PDF
39 Pages
 BRISTOL-00-BRI.PDF
38 Pages
 BERING-00-BER . PDF
38 Pages
 BEAUFORT-00-BEA.PDF
39 Pages
 Small SEA-B-QUE
1 Page
 Large SEA-B-QUE
1 Page
 Round SEA-B-QUE
1 Page
 Spitfire 180
1 Page
 Propane 2 Burner Cooker
1 Page
 Alaska Diesel Heater
1 Page
 Antarctic Diesel Heater
1 Page
 Newport Diesel Heater
1 Page
 Diesel Cook-Stoves
2 Pages
 Dickinson Cabin Heaters
2 Pages
 Dickinson Marine BBQ
1 Page


