
カタログの抜粋
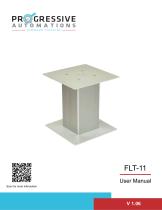
FLT-11 Scan for more information User Manual
カタログの1ページ目を開く
Table of Contents Caution Dimensional Drawing Mounting Hole Dimensional Drawing Components/Setup Operation/Reset Procedure Have any queries? Our expert engineers are here to help! sales@progressiveautomations.com
カタログの2ページ目を開く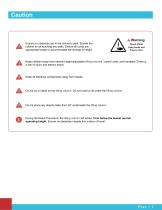
Ensure no obstacles are in the column's path. Ensure the column is not touching any walls. Ensure all cords are appropriate length to accommodate the change in height. Pinch Point Keep hands and fingers clear. Keep children away from electric height-adjustable lifting columns, control units, and handsets. There is a risk of injury and electric shock. Keep all electrical components away from liquids. Do not sit or stand on the lifting column. Do not crawl or lie under the lifting column. Do not place any objects taller than 20" underneath the lifting column. During the Reset Procedure, the...
カタログの3ページ目を開く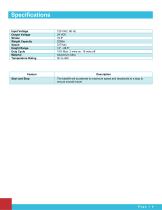
Specifications Input Voltage Output Voltage Stroke Weight Capacity Speed Height Range Duty Cycle Material Temperature Rating Feature Start and Stop Description The tablelift will accelerate to maximum speed and decelerate to a stop to ensure smooth travel.
カタログの4ページ目を開く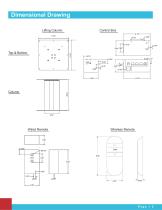
Dimensional Drawing Control Box Lifting Column Wired Remote Wireless Remote
カタログの5ページ目を開く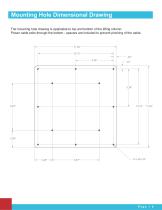
Mounting Hole Dimensional Drawing The mounting hole drawing is applicable to top and bottom of the lifting column. Power cable exits through the bottom - spacers are included to prevent pinching of the cable.
カタログの6ページ目を開く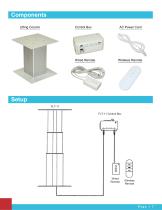
Components Lifting Column Wired Remote Wireless Remote Wired Remote Wireless Remote
カタログの7ページ目を開く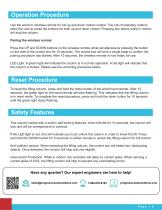
Operation Procedure Use the wired or wireless remote for full up and down motion control. The non-momentary buttons allow the user to press the buttons for both up and down control. Pressing any button while in motion will stop the column. Pairing the wireless remote Press the UP and DOWN buttons on the wireless remote while simultaneously pressing the button on the side of the control box for 10 seconds. The control box will emit a single beep to confirm the pairing procedure has started. After 10 seconds, the wireless remote is now ready for use. LED Light: A green light will indicate the...
カタログの8ページ目を開くProgressive Automationsのすべてのカタログとパンフレット
-
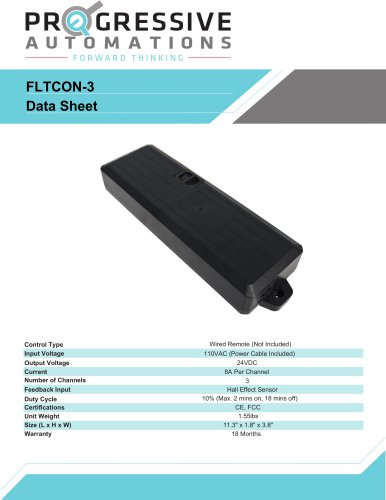 FLTCON-3
3 ページ
-
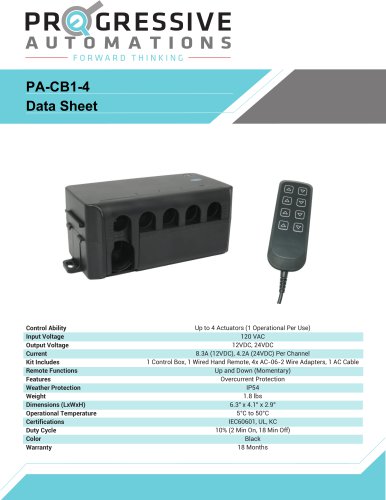 PA-CB1-4
2 ページ
-
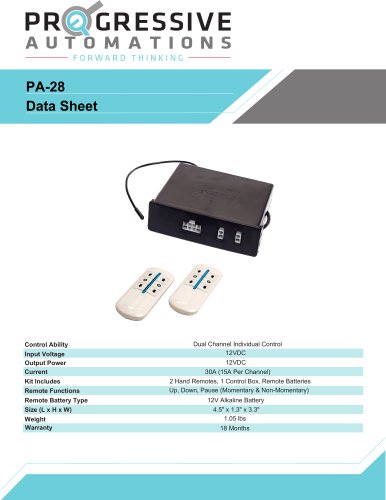 PA-28
PA-283 ページ
-
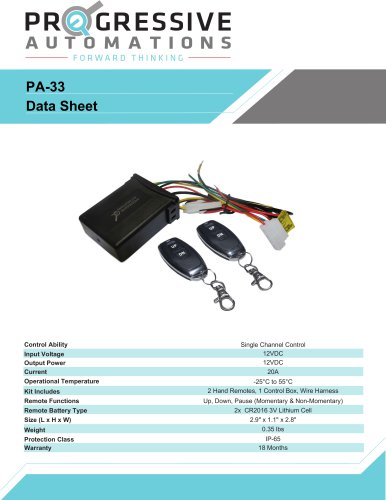 PA-33
PA-333 ページ
-
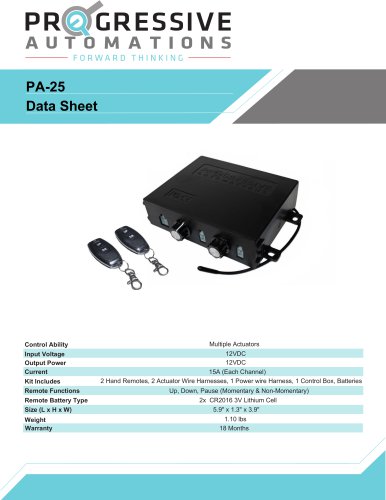 PA-25
PA-253 ページ
-
 FLTCON-2
4 ページ
-
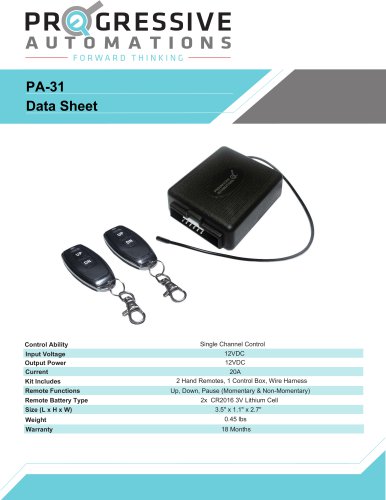 PA-31
PA-313 ページ
-
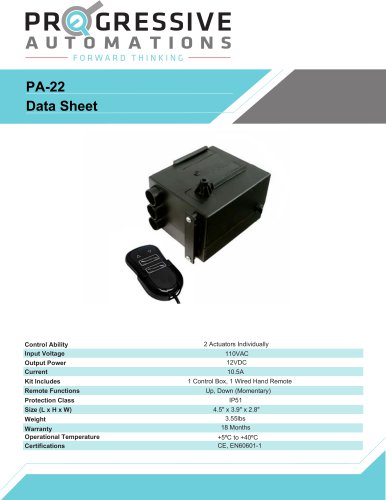 PA-22
PA-222 ページ
-
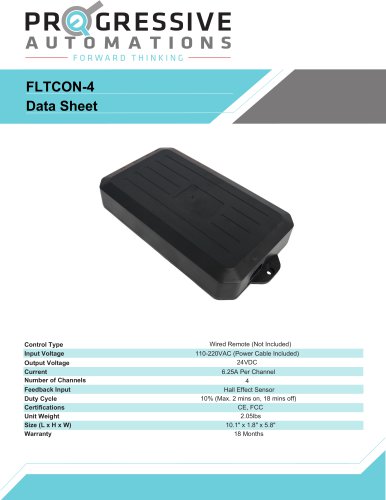 FLTCON-4
3 ページ
-
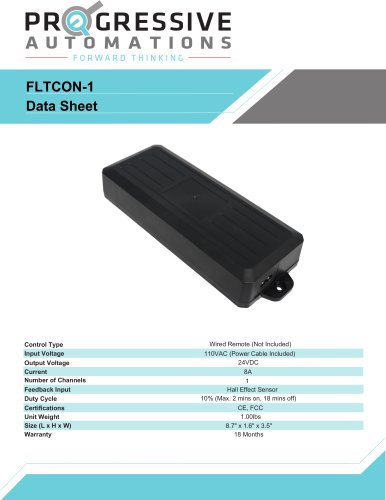 FLTCON-1
3 ページ
-
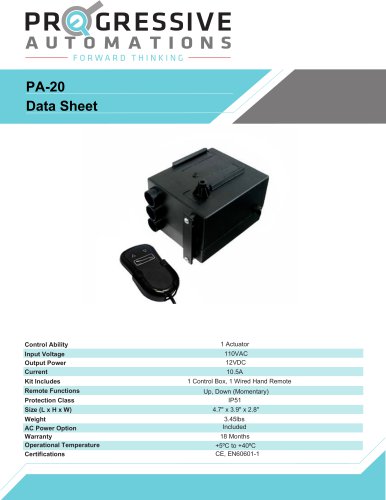 PA-20
PA-202 ページ
-
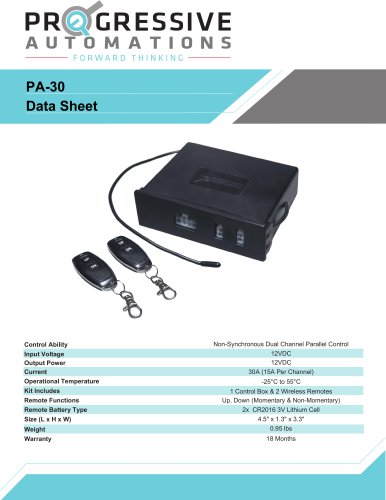 PA-30
PA-303 ページ
-
 PA-04 Data sheet
10 ページ
-
 PA-13 Data sheet
8 ページ
-
 PA-01 Data sheet
7 ページ
-
 PA-06 Data sheet
7 ページ